How to Make a Wedding Bouquet: Seven Easy Steps
On a tight budget? Make your own wedding bouquet with our tips from an expert florist
We have included third party products to help you navigate and enjoy life’s biggest moments. Purchases made through links on this page may earn us a commission.


If you’re sticking to a tight budget for your wedding planning and are looking to cut down on costs, then why not make your own wedding bouquet?
The wedding flowers are a big part of your bridal look and going DIY means that you can create something that is even more significant and meaningful to you.
However, it is crucial to get the technique right so that you get a beautiful end result rather than a messy clutch of mismatched flowers!
To show you how to make a wedding bouquet, we spoke to expert florist Louise, owner of Louise Avery Flowers, to get her step-by-step tips.
You Will Need:
- Tissue paper (to work on)
- Scissors or secateurs
- String or raffia
- An old spray top bottle filled with water
- Decorative ribbon, lace or fabric for the handle
- A mirror to work in front of
- Clean tea towel
- 12-24 flower and foliage stems of choice
Step One: Choose Your Flowers
Preparation is crucial if you want to make your own wedding bouquet. Think about what flowers you want to include and consider the season and colour scheme of your wedding. To help you choose which blooms to include, check out our guide to picking your flowers.
But when do you buy the flowers? ‘Usually buying the flowers a couple of days before the wedding is sufficient,’ says Louise. ‘However flowers that are cut when they’re in a tight bud should be bought up to a week early, for example freesia or lilies, as they need longer to open so they look their best for the big day.
‘The temperature for the time of year will also determine how fast they open.’
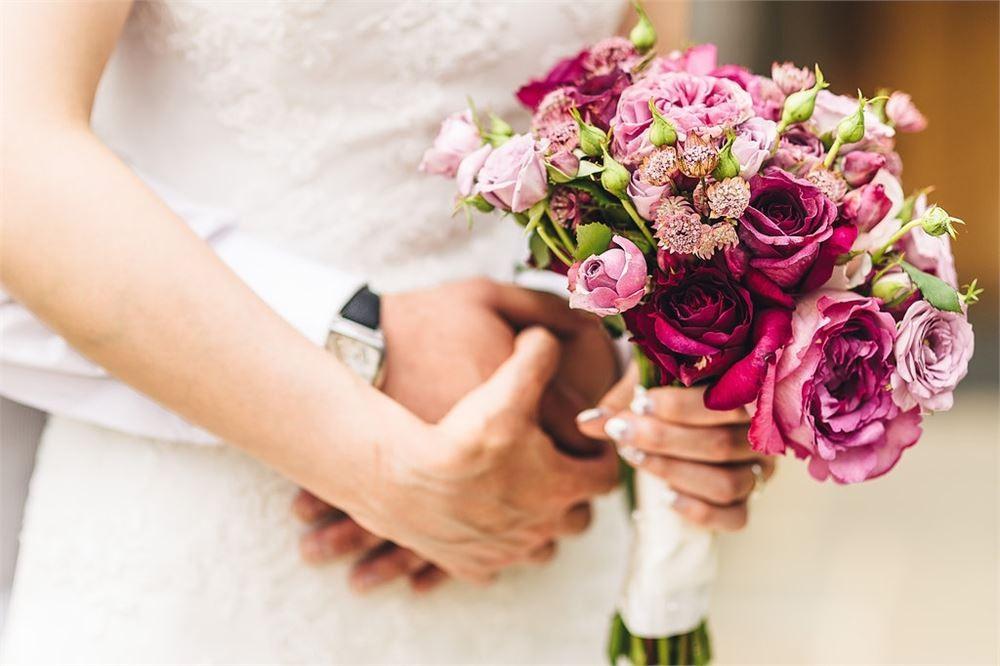
Image: Graham Nixon Photography
Louise’s Top Tip:
‘Always give the flowers a good long drink before you work with them. This will make them stronger and they will hold their heads up better. Also, never buy your flowers on the day and always seek professional advice from the florist if you’re unsure!’
When you go get your flowers, don’t forget to print off our essential questions to ask your wedding florist and take them with you!
Step Two: Start Preparing Them
Once you’ve sourced your flowers, you’re ready to begin!
‘Lay your materials on a large table or worktop so that they are easy to access and place all stems directly onto tissue paper to protect the blooms from bruising,’ says Louise.
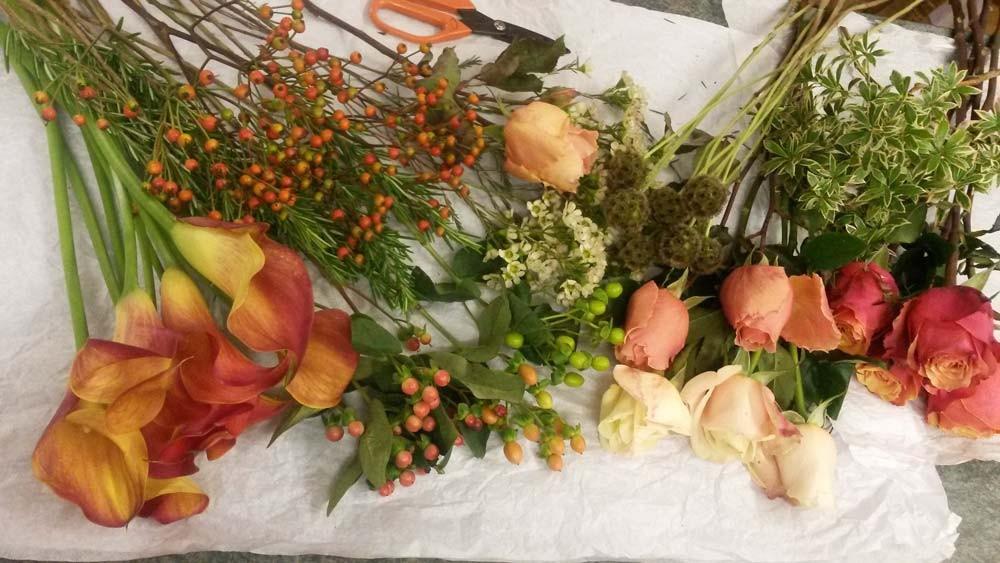
‘Prepare the flower and foliage stems by stripping all leaves, shoots and buds that will be below the point where you tie the stems together,’ says Louise. ‘The area below the tying point will form the handle of the bouquet and stripping it will make it more comfortable to carry.’
Remember that you will be working one-handed as you will be holding your bouquet constantly in the other hand! So be sure to keep your writing hand free.
Louise’s Top Tip:
‘It’s also a good idea to set a mirror up for you to work in front of. You will then be able to see the front of the bouquet as you wish others to view it.’
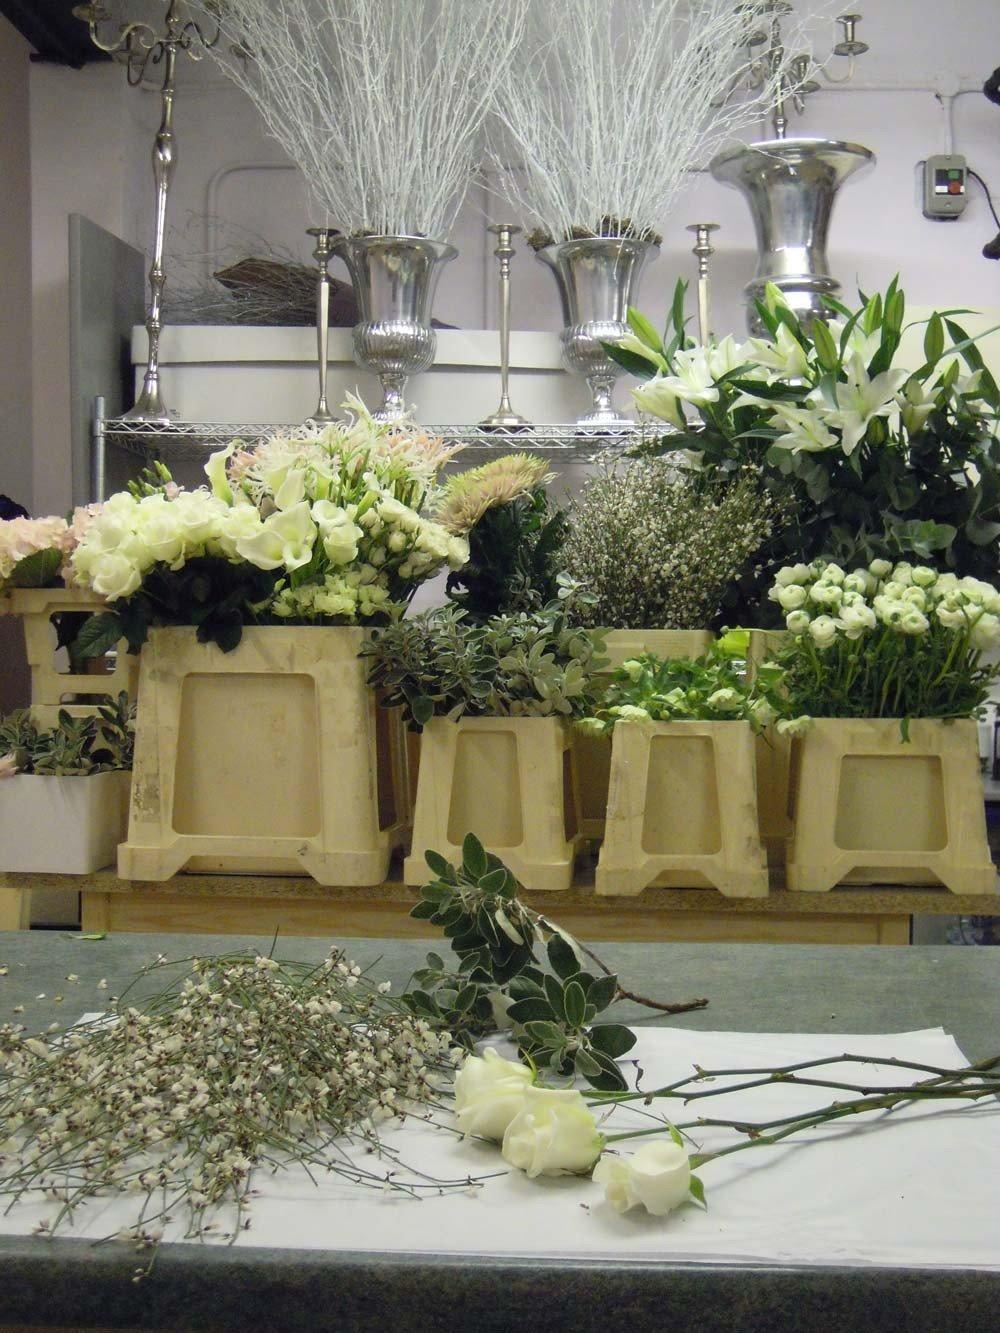
Step Three: Pick a Focal Flower and Work Around It
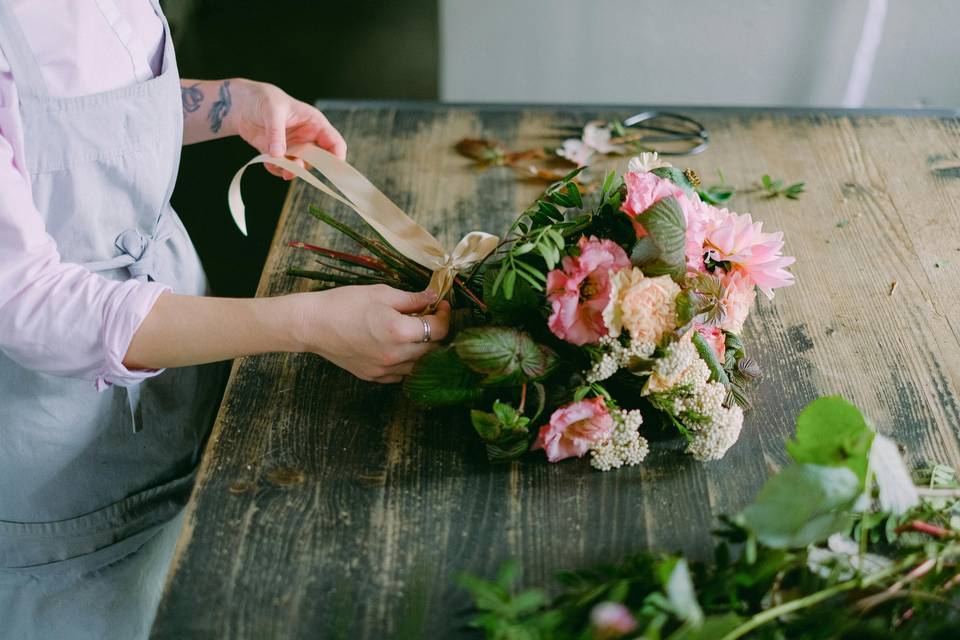
‘Begin with the main flower that you want to use at the centre and tie string or raffia to the stem at the point that will become the base of the bouquet and the top of the handle,’ explains Louise. ‘Add stems of foliage around this centre bloom and bind with the string or raffia.’
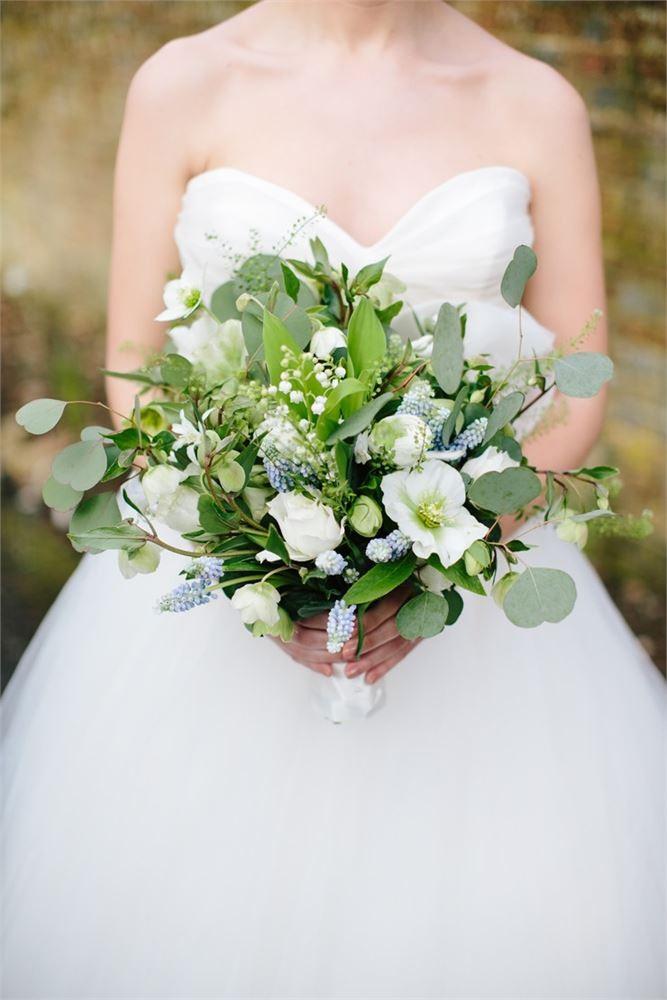
Image: Hayley Savage Photography
Step Four: Continue to Add More Flowers
Once you’ve started with your centre flowers, you can then work around it and start building up your bouquet!
It might also be a good idea to have a picture in front of you for inspiration if you’re going for a particular bouquet look.
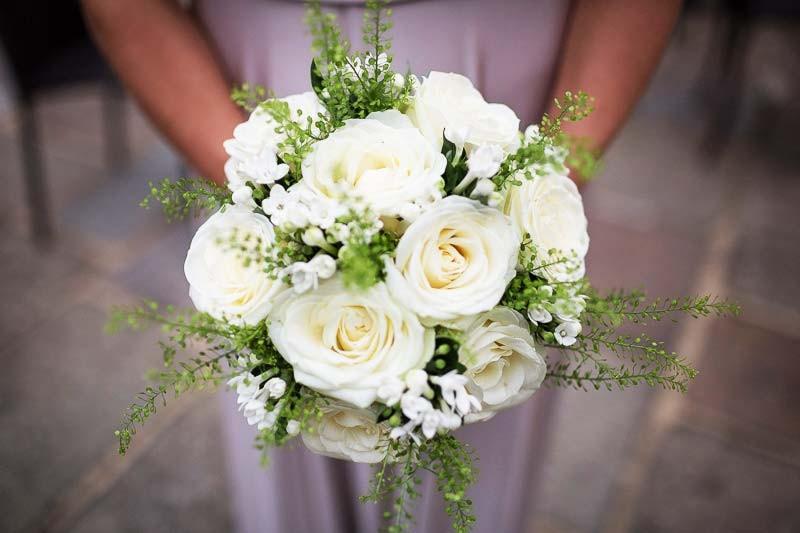
Image: Isabel Maria Photography
‘Add further flowers and foliage sprigs to the bouquet, placing each new stem into the bouquet at a diagonal angle and bind as you go to secure the stems into position,’ says Louise. ‘Always add new stems in the same direction so that you create a spiral effect.’
‘Make sure you keep a tight grip on the bouquet and carefully twist it round in your hand if that makes it easier to add more flowers. Continue until you have used all of your materials and you are happy with your bouquet!’
Step Five: Store the Flowers Overnight
Once you have added all the flowers in and have tied them securely, it’s important to store the bouquet correctly so that it’s perfect for your wedding day!
Making the handle look pretty will be a task for the morning of – so although it won’t take long, make sure you leave time to do this!
‘Place in deep water overnight so that all of the stems drink well,’ explains Louise. ‘Storing the flowers right is key. Make sure they are in a cool place, like a shed or a garage, and avoid draughts. Never place in direct sunlight as they will wilt.’
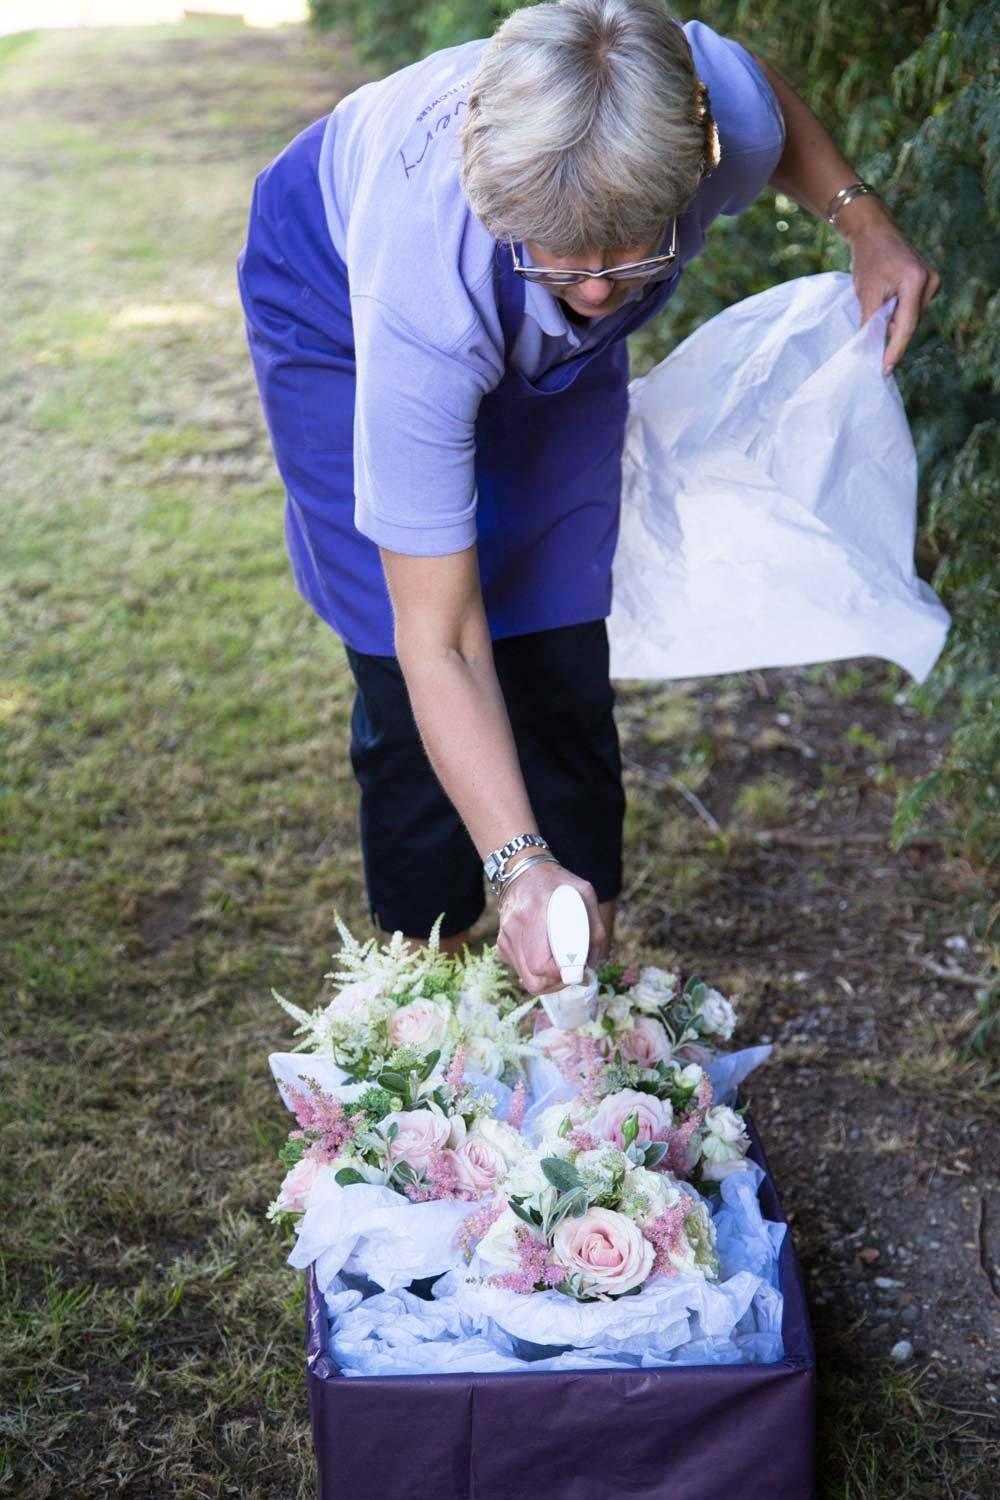
Image: SND Photography
Louise’s Top Tip:
‘Never store with ripening fruit, especially bananas! A household fridge will be too cold for flower storage and if the bouquet is for a winter wedding, make sure that the flowers are kept in a frost-free place. Tender flowers that are subjected to the frost will turn black overnight!’
Step Six: Decorate the Handle of the Bouquet
Eek it’s the morning of your big day! But don’t forget about the bouquet, it’s best to finish it off before you get changed into your dress as you don’t want any colour from the flowers to rub off onto the fabric! Louise explains how to add the last flourish to your DIY wedding bouquet:
‘On the morning of the wedding, dry the stems that will form the handle with a clean tea cloth.
‘Attach and wind ribbon, lace or spare dress fabric around the stems to form an attractive and a comfortable handle to the bouquet (and to cover the string). Secure the ribbon or fabric with pretty pearl or diamante pins which you can get from craft stores.’
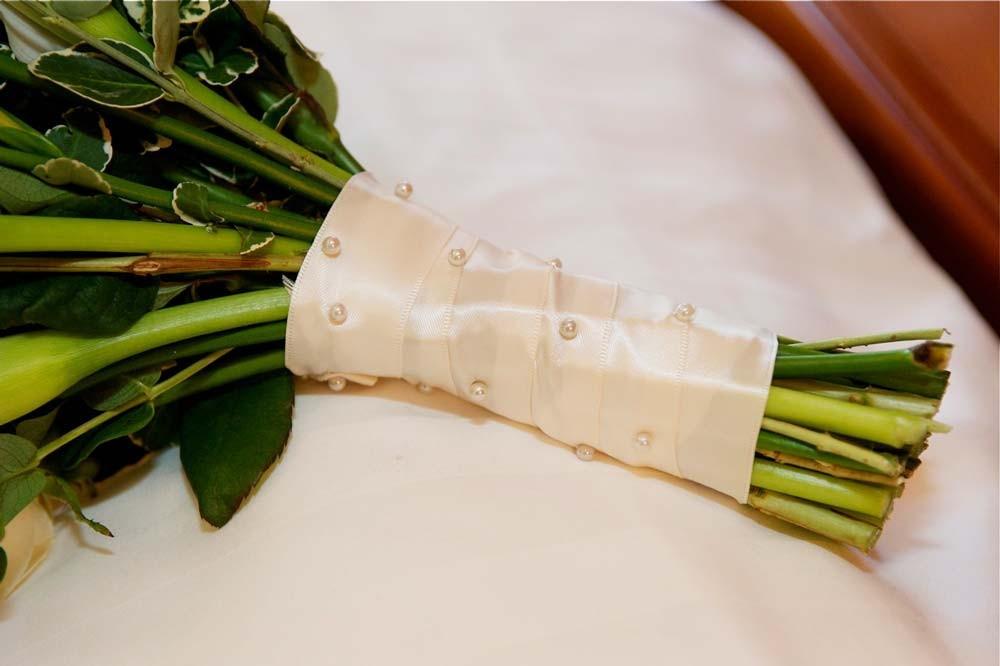
Image: SND Photography
Louise’s top Tip:
‘When you have finished the bouquet give it a light spritz with fresh water then lightly place a sheet of damp tissue paper over to protect and keep fresh until you’re aisle ready!’
Step Seven: Cut the Ends of the Stems to Finish!
Phew you’re almost there, now it’s time to cut the end of the stems to neaten and finish the base of your bouquet!
‘Choose the length of the bouquet handle and cut the stems accordingly to reveal as much or as little natural stem as you wish,’ says Louise. ‘If you plan to carry the bouquet as an arm spray, always keep the stems of the handle at a longer length for comfort and balance.’
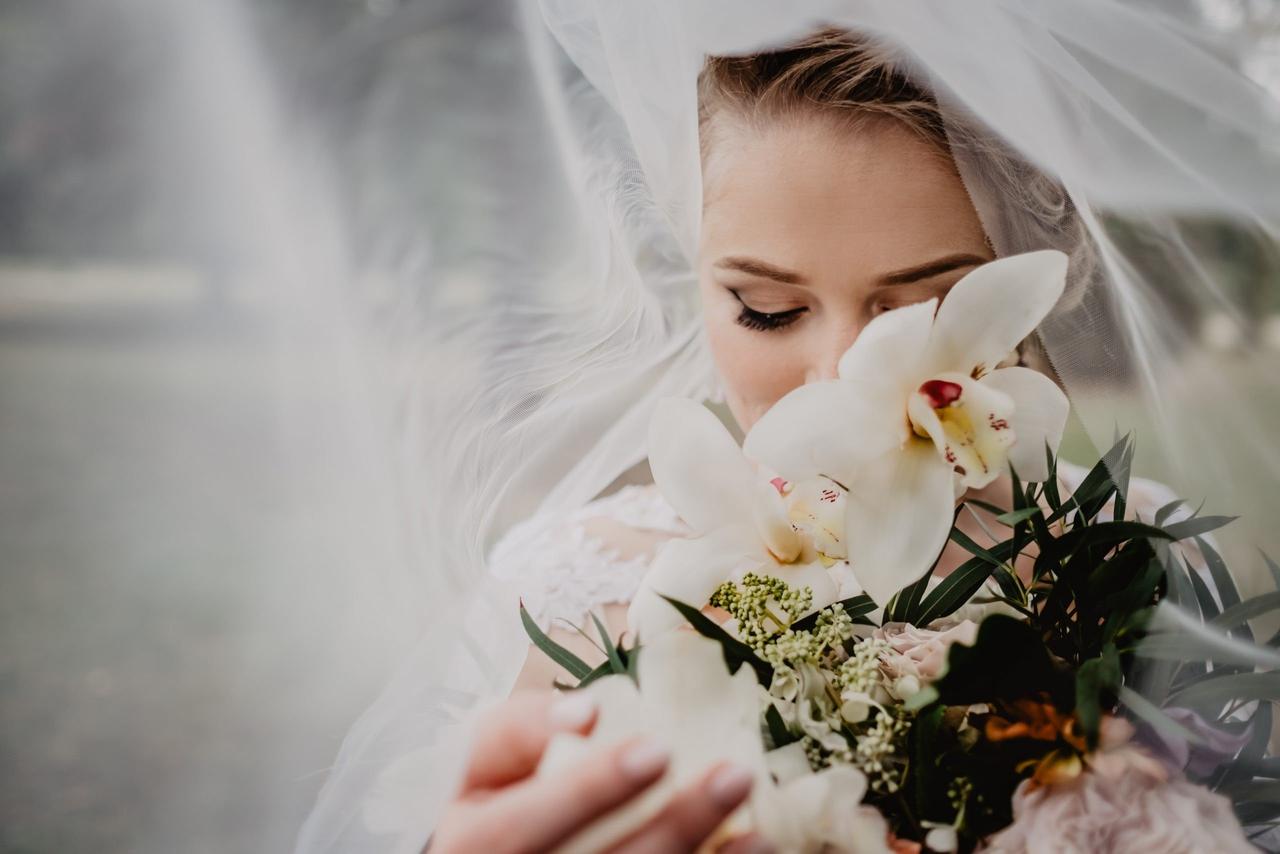
Congratulations, you’ve made your own wedding bouquet!
Now you can walk down the aisle and impress your guests with your gorgeous handmade wedding bouquet – and enjoy the looks on their faces when you say it’s actually DIY!
If you’re feeling inspired to be more hands on with your wedding décor, then check out our 50 DIY wedding centrepiece ideas and make an impact without blowing the budget!
Looking for alternative ideas for your bridal bouquet? We also show you how to make paper flowers for your wedding!

