How to Do Modern Calligraphy for Your Wedding: Your Step-by-Step Guide to Brush Lettering
Calligraphy looks beautiful on everything from your place cards to wedding signs to table numbers. Think it's too difficult? Here's your beginner's guide to modern calligraphy
We have included third party products to help you navigate and enjoy life’s biggest moments. Purchases made through links on this page may earn us a commission.
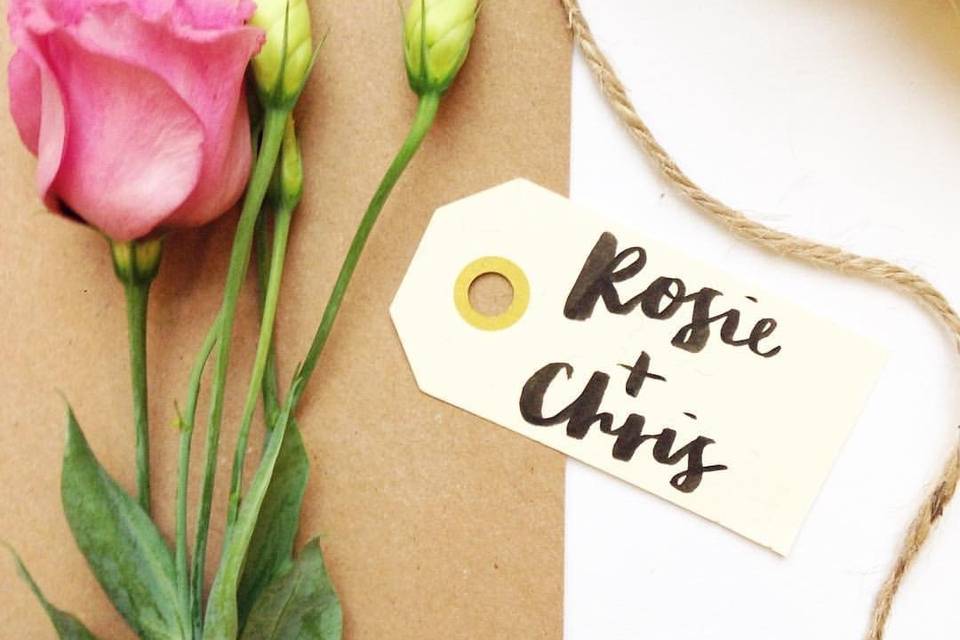

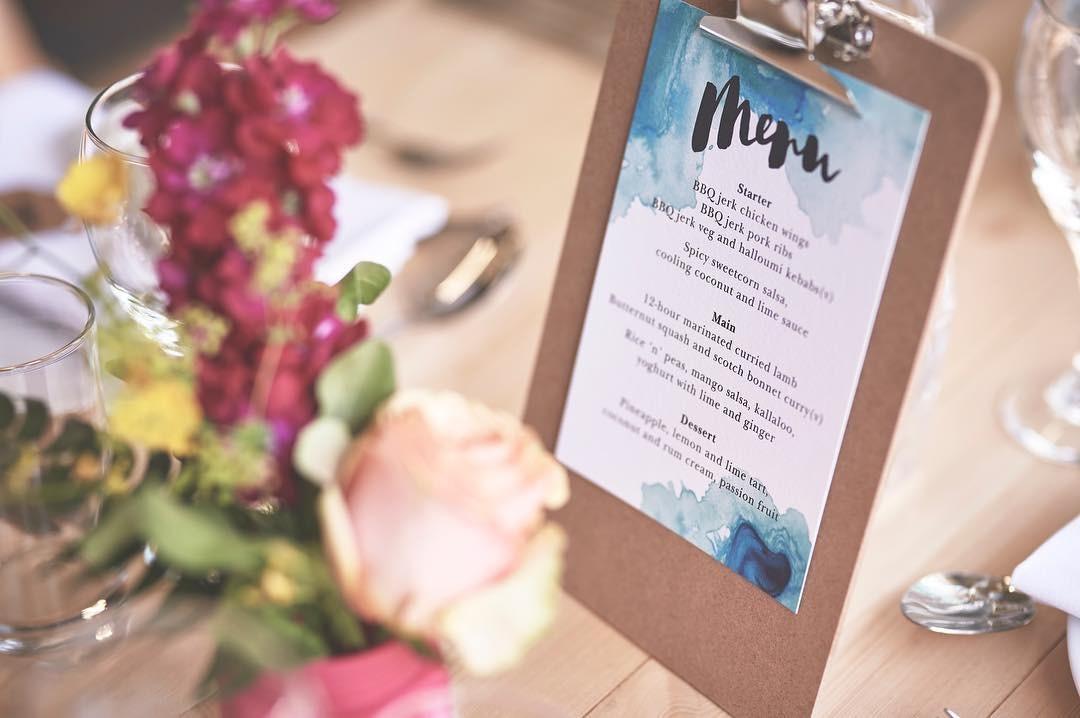
Modern calligraphy is hugely popular to use on wedding décor. There are tons of amazing calligraphers you can hire for everything from your stationery to a welcome sign, but it’s also something that you can get good at DIY’ing yourself with a bit of practice!
The best places to use calligraphy for your wedding are on:
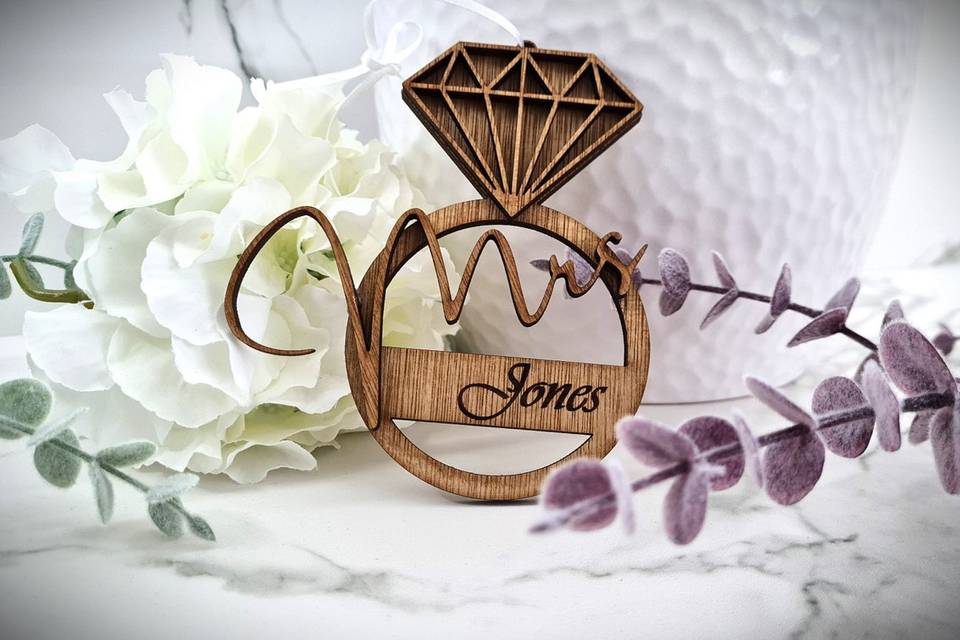
- Place settings, favours and place names
- Wedding signs, e.g. a welcome sign; a sign for your card table; his and hers signs for your top table chairs; or direction signs guiding the way to the bar, dance floor, ceremony area, etc.
- Table numbers or names
- Wedding invitations, envelopes and thank you notes
You’ll find our step-by-step guide below to learning how to make marks, write the alphabet and join up words, plus a complete list of the tools you’ll need.
After that, we recommend you sit down and practice for about 15 minutes a day (which is incredibly relaxing too) until you feel ready to let loose on your wedding décor. If you want to gain a bit more confidence, we’ve listed some amazing online workshops you can sign up for – keep on scrolling down!
Image: Calligraphy by Laura
Is Calligraphy Hard to Learn?
Calligraphy isn’t hard to learn but it does take lots of practice to make it look good!
What we’re going to be showing you is how to do a form of modern calligraphy with brush pens. Traditional calligraphy – you might have heard of types like Italic or Copperplate – has set patterns and strokes, and modern calligraphy is very simply anything that doesn’t fit into that. It’s easier to master, stylish and you can add your own personality to the lettering.
Brush pens are the easiest way to learn modern calligraphy as they respond easiest to pressure. The other most popular type is dip pen calligraphy, which uses a nib and ink to write with. You’ll also find lots of tutorials online for ‘faux calligraphy’ where a pen is used to shade in the appearance of thicker lines after a word has been written.
Image: Olive and Bramble
Can You Learn Calligraphy On Your Own?
Absolutely! Mastering calligraphy and hand-lettering will take time and practice but it’s perfectly possible to learn it on your own. Below you’ll find our how-to video on brush lettering from the amazing Becki Clark of Olive & Bramble. Follow her step-by-step guide and you’ll have the basics of brush lettering mastered.
View this post on InstagramA post shared by Hitched (@hitcheduk) on
Step One: Practise Making Marks
- Hold your pen at a 45 degree angle to your paper; this might feel quite different from how you hold a normal pen so get used to the grip.
- Explore the different thicknesses you can create with your brush. First make thick lines downwards by applying pressure, and then thin lines upwards by applying less pressure.
- Combine the marks to practice a V shape, starting with a thick line down and a thin line up.
- Try an upside down U shape, with a thin line up and a thick line down. Make sure you apply your pressure slowly on the curves!
Step Two: Learn the Alphabet
- Using the general rule of thick strokes down and thin strokes up, begin to work through the alphabet. Follow Becki’s approach of doing each letter in upper and lowercase, and then you can see which letters come easily to you and which will take more time.
- Test your own style on some of the letters until you find a look that feels comfortable. Although there are exceptions to the rule, try and keep a mixture of thick and thin on every letter to give the brush lettering feel.
- Practice, practice, practice – you’re trying to build up muscle memory so the letters come naturally to you when you move onto words or names.
Step Three: Join Up Words
- As a beginner, give your letters tails instead of trying to write a word all in one go.
- Take the pen off the page each time you finish a letter before joining the next letter to the previous tail. This gives the illusion of continuous handwriting.
- You might find it easier to use a pencil to sketch out the rough placement of your letters first.
Step Four: Let’s DIY!
- Before you’re ready to get started on the real thing, make sure you’ve practised lots and lots. If you’re doing names, write them out several times on practice paper so you’re confident when you come to the DIY
- Place cards are an easy DIY to start using your calligraphy skills on. These range from luggage tags and paper place cards to alternative materials like slate or pieces of acrylic (you’ll need a different pen for those).
- Always remember you can draw a rough outline in pencil if you need to.
Image: Olive and Bramble
What You Need to Do Modern Calligraphy: The Essentials
Brush Pens
You’ll quickly get the hang of brush pens. You want to use light pressure on your up stokes and heavier pressure on your down strokes to achieve the look of thin and thick lines. These three below are basic black pens to get you started but Hobbycraft have a fantastic selection of brush pens that you can order online, including some gorgeous pastel colours for once you’ve mastered your look.
- Pentel Brush Pen – this is the brush pen Becki recommends and you can see how easy it is to use in the video above
- Tombow Dual-Brush Pen – this is another great brand of brush lettering pen
- Tombow Fudenosuke Brush Pen – these finer tipped pens are great for small lettering
Practice Paper
You need smooth, bleedproof paper so that the brush tip doesn’t fray and your writing is clean and clear. The best paper for this is silk paper and is great to practice on. For practising, try:
- Rhodia DotPad – this low absorbency paper has dots that act as guidelines to keep your letters the same height
- Strathmore Marker Paper – this ultra-smooth, bleedproof paper is great to practice on
- HP Premium Paper – printer paper is the most inexpensive way to practise, but we don’t recommend your bog standard A4. The HP Premium paper is smooth and won’t bleed – if you want lines, use these free printable online resources
Like Becki, you might want to write on luggage tags for place settings once you’ve got the hang on it. The coarse kraft paper is going to fray the brush tip slightly, but it’ll be worth it for how it looks!
Dip Pens
If you want to try a different form of modern calligraphy, buy yourself a dip pen. You can find lots of tutorials on YouTube on how to use these tools. Here’s what you’d need:
Image: Emerald Paper Design
What’s the Best Way to Practice Calligraphy?
You can choose to make your calligraphy stylised – this is the popular way for brush lettering with a mix of letters at different heights – or you can make it consistent with lined guides, which is popular for dip pen calligraphy. Which you prefer is really up to you!
If you want to go for your own style, then you should practice your calligraphy for about 15 minutes every day on smooth paper, writing out letters and joining up words until you’ve built up your muscle memory. It’ll be quirky, have personality and look fantastic on your wedding décor.
If you want to make your calligraphy more consistent and a bit more like the professional style you’d see on Instagram, you’re best to practice on calligraphy paper, also known as calligraphy guide. This is specially lined paper that helps you learn how to write your letters to the right height.
If we go back to basics with typography, you’ve got three main types of letters. You’ll practise keeping the letters within the lines until it comes naturally:
- ‘X – Height’: this is the height of letters like x, v, w and z that sit on your base line and go to your mean line. They’re the core of the lowercase alphabet. Rounded letters like a, e, i, m, n, o, s, and u might extend a little further than these lines.
- Ascenders: an ascender will have a portion of the letter that goes above the mean line, for example, b, d, h, k, l. The majority of the letter is the same size as the x-height and it’s just the stroke at the top that goes above the line.
- Descenders: these letters will have a portion that goes below the base line, for example, g, j, p, q, y. Descenders are perfect to add simple flourishes to, like flicks at the end of a y, that completely transform the look of the word.
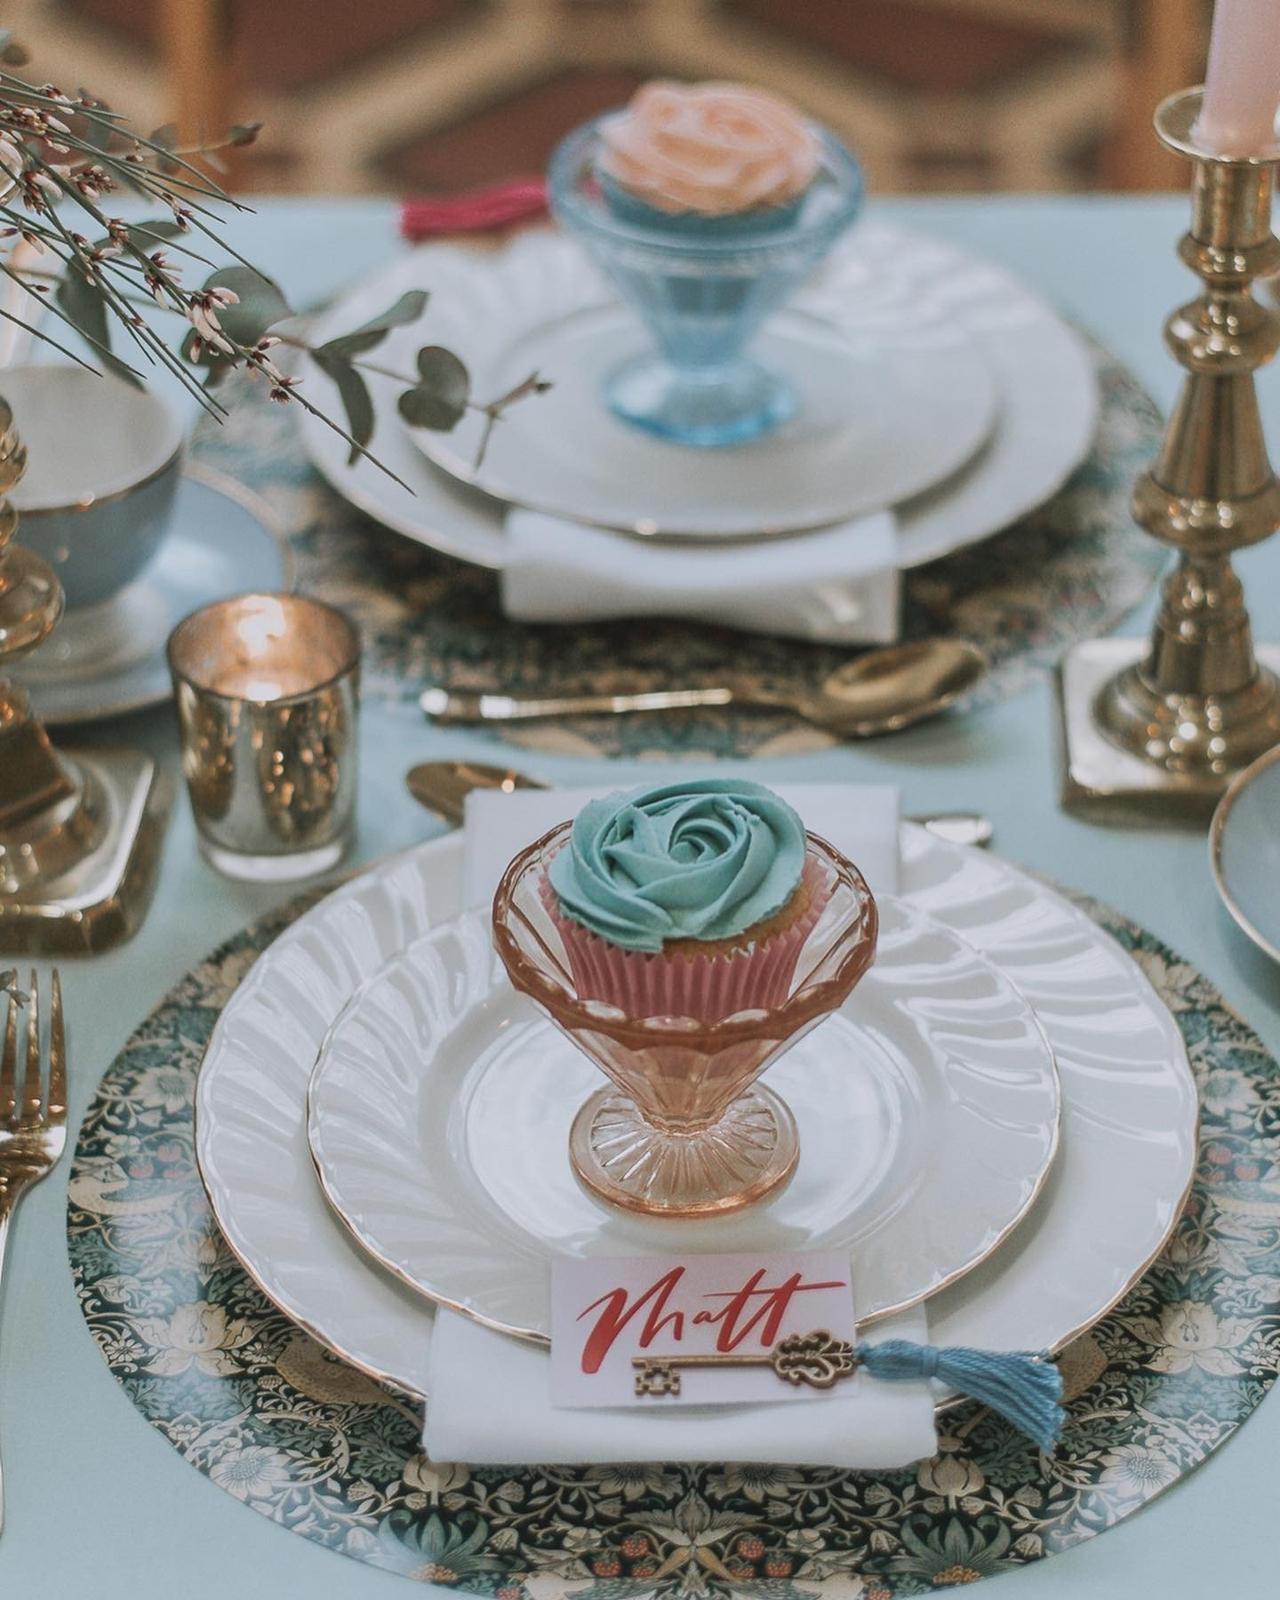
Image: Olive and Bramble
Where Can I Find Modern Calligraphy Courses?
If you want to speed up the process of learning modern calligraphy, there’s lots of courses that you can take where you’ll be taught by masters at the art. Our favourites for beginners are:
- Imogen Owen – Imogen teaches online and in-person dip pen calligraphy courses across the UK
- Quill London – Join private or group workshops online or in their London store to learn ink and nib calligraphy
- Babooche Calligraphy – Try live online workshops or a pre-recorded one that you can do any time you like
- Oh My Pen & Press – Manchester-based Emma runs organised classes, small groups and private tutoring in modern calligraphy
- Becki Clark – Becki teaches lots of workshops, and you can also pre-order her book, Modern Brush Lettering
Image: Olive and Bramble
The Best Instagram Accounts to Follow for Modern Calligraphy
Want lots of Instagram inspiration? Follow our list below:
@immieowen
@quilllondon
@baboocheuk
@ohmypenandpress
@oliveandbramble
@calligraphybylaura
@oldlittlegoose
@londoncalligraphy
@inloftcalligraphy
@inkmothcreative
@emeraldpaperdesign
@whiteolivedesignstudio
Image: InkMothCreative
Tips and Tricks for Perfecting Your Calligraphy
- Use smooth paper with no texture to practise with – it’ll make it harder to get a smooth stroke.
- Hold the pen almost diagonal to the paper, not perpendicular.
- Think about different ways you can add personality to your lettering: try mixing up the base line for each letter, adding more space between the letters, or squishing them close together.
- Want to fake the brush pen effect? Write your word in cursive as you normally would, then add an extra line next to it on every downstroke. Fill in the gaps between the letters. We love Sharpie Ultra Fine Point Markers for this.
- Try and use a brush that has a flexible tip – ones that are almost like a paint brush respond well to pressure.
- Practice! Just with any new skill, it takes time and practice.
Looking for more DIY ideas? We’ve got a whole section dedicated to wedding DIYs for you, from balloon walls to 50 centrepiece ideas!


